It's a while since I did a build update and things are moving pretty fast so here goes:
Downstairs
We've finished installing the ceilings downstairs and they've been plastered.
The problem with old stone buildings is that they were built in a time
when people had different expectations about what constituted
comfortable living. Of course, most of our building wasn't built to be lived in at all and although stone walls are great at keeping things cool in the summer they are truly terrible at keeping heat in for the other six (or in the case of 2012) ten months of the year. The modern approach is to line the walls with glass fibre insulation and plasterboard (good for mice and it stops the walls breathing), a modern approach using traditional materials is to apply a coating of lime, sand and hemp (or linseed) straw (no room for mice and fully breathable). The issue of breathing is important as old stone walls are invariably damp and need a way to transfer the moisture out of the wall fabric.
So, after we'd finished the ceilings, Lloyd Davey of Eco Renovations (
http://www.ecorenovationsbretagne.com/) came in and, using a high pressure application system, applied an 8 cm layer of lime render and hemp to the downstairs walls.
 |
| Lloyd puts the chopped hemp straw into the compressor |
 |
| Lewis (Lloyd's son) applying the first layer of hemp |
 |
| North wall partly completed |
 |
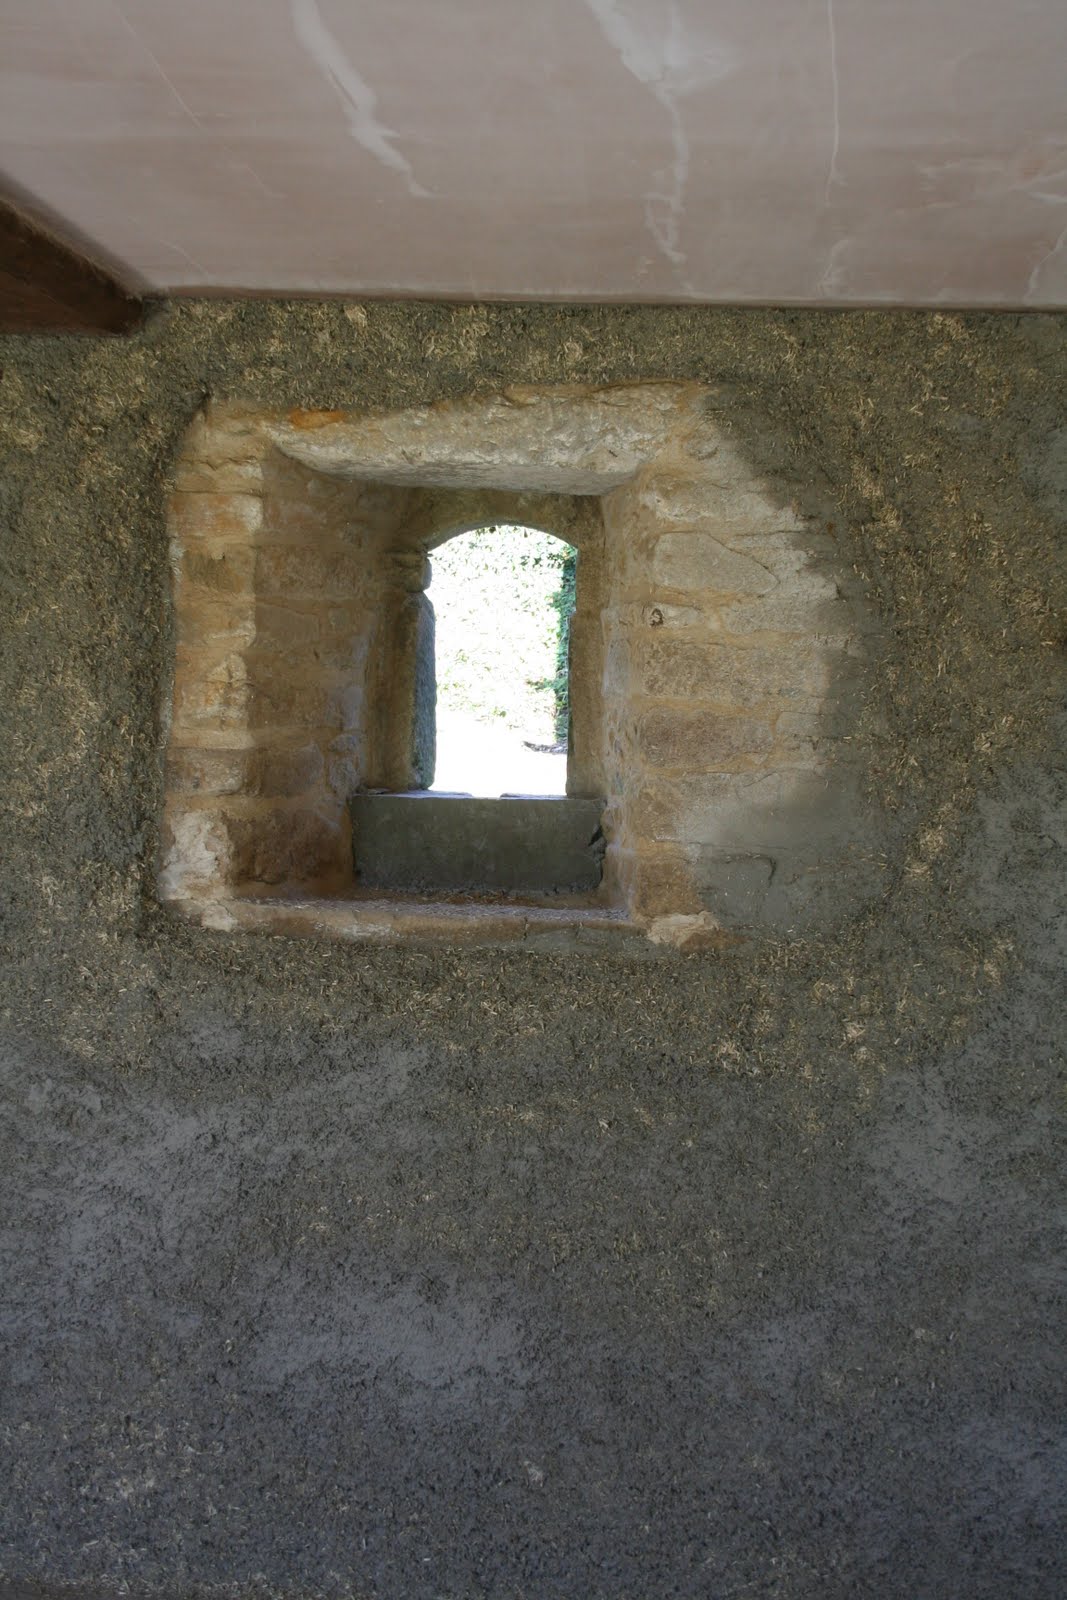
| Hemp insulation completed around one of our windows |
We first met Lloyd two years ago when he ran a weekend course in natural building methods and the information we gained then has helped us make some of the difficult "modern or traditional" decisions in our build. The walls take three weeks to dry and so we moved upstairs to frame out the roof space ready for the insulation and upstairs ceiling construction.
Gérard, who built our new roof, had constructed a straight and level roof on the old A frames. We then built a wooden framework underneath the roof and used it to support two layers of glass fibre insulation. This was another modern or "eco" materials decision - an eco approach would have been to construct sealed boxes in the roof space and blow in re-cycled cellulose fibres to provide the insulation barrier. Unfortunately in this case, as in the heating and some other choices we've been faced, eco solutions are still far more expensive than more current technologies - by a factor of 2 in this case.
 |
| The wooden roof frame receives the first layer of insulation |
 |
| Velux window showing framing and final insulation layer |
 |
| The "cathedral" style roof - 3m80 at the highest point (that's 12ft 9in in old money) |
After the insulation is finished the next stage is to board out using large plasterboard panels. The rooms finally start to take shape at this point:
 |
| Mini lucarne overlooking the open barn |
 |
| The ceiling of the double height mezzanine bay boarded and prepared for plastering |
 |
| The ceiling above the main barn window |
We knew the barn was big when we bought it and I've written before about the huge volumes of material we seem to be consuming but this latest part of the project has reminded me of what a huge job we have taken on. We've installed a whole trailer load of insulation in the floor, the insulation and wood for the roof took another lorry to deliver it from the builders' merchants and we've now used 80 plasterboard sheets in the ceilings, each one 8ft by 4ft and weighing 15kg.
Tomorrow we start plastering again upstairs .....


No comments:
Post a Comment